

New Member Profile Setup
Setting up your profile is actually pretty simple. These steps should guide you easily through the set-up process. If you have any difficulties or issues, you can contact us by email here: Email Site Admin. One thing to try if you are having issues - try a different browser. Sometimes programmers can't keep up with browser updates, and sometimes things just won't work as expected in a certain browser. We have had issues while building this site. What wouldn't work in Firefox worked just fine in Internet Explorer or Chrome, and vice versa. Sometimes restarting your computer will help by clearing out the cache and resetting computer associations.
To make things easier to set up if you're on a PC, hover your cursor over the Lumberjack Profiles link and right-click the link. Click the Open Link In New Window option and the Lumberjack Profile page will open in a new window, This way, you can switch back and forth between this page and the set-up page so you can follow the step-by-step instructions if needed.
To start setting up your profile, make sure you are on the Lumberjack Profiles page.
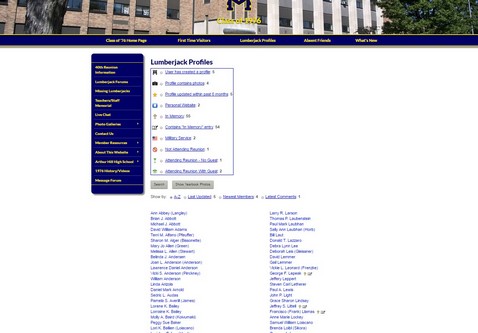
Next, scroll down the list until you find your name.
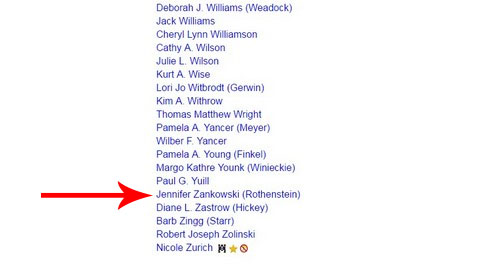
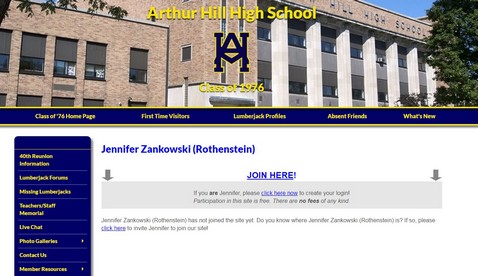
Click on your name and you will be taken to this page. Click on either JOIN HERE or click here now.
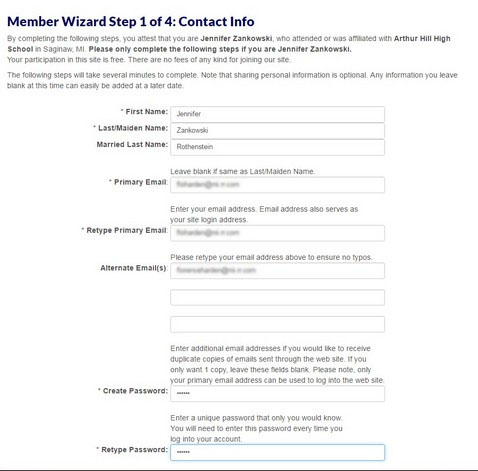
You will be taken to the Member Wizard. The top section is for your email addresses and password. You may add additional email addresses if you wish.
Basically follow the prompts by adding the requested information. Please note: You are only required to enter an email address and password to register for this site. However, the Administrators and Reunion Committee would appreciate it if you would enter as much information as possible. This information will never be seen by or revealed to any other classmates. It's main purpose is so that we have your current address for sending out mailers concerning class events such as reunions. This also serves as a backup means of communication in case something happens and we can not get ahold of you by email. Adding your city and state also adds you to the Where We Live section on the right side of the Home Page. It is rather cool to see where our classmates live 40 years later.
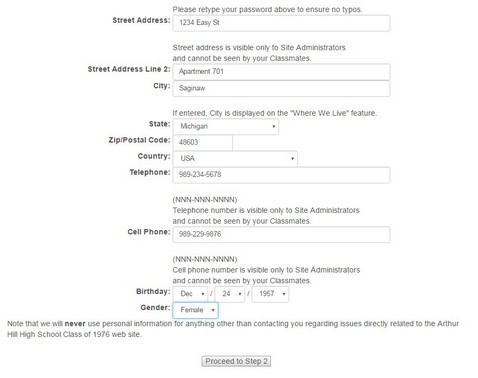
The bottom section is for your address, phone number, birthday, and gender information. As stated earlier, this information is not required, but would be appreciated by the administrators and reunion committee. When you have all the information entered to your satisfaction, click the Proceed to Step 2 button.
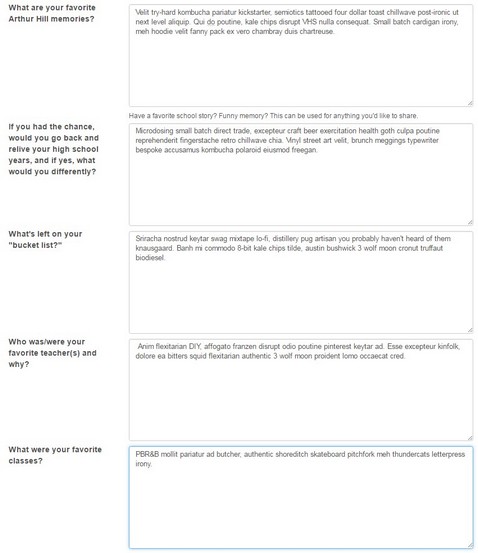
You will now be at Step 2 of the Member Wizard. This is where you can add further information such as a spouses name, any other social groups you belong to, and there are various questions that will allow you to share some information about you with other classmembers. SPECIAL NOTE: At this point, there is only one question that you will be REQUIRED to answer, that is the question concerning your attendance of the 40th reunion on November 26th. You will not be registering for the reunion nor is your selection binding. The Reunion Committee simply needs to start getting an accurate head count as to how many will be attending, and we feel this will be the simplest way to get that information. Any other questions are optional, but your answers may provide a nice way to let others get to know more about you.
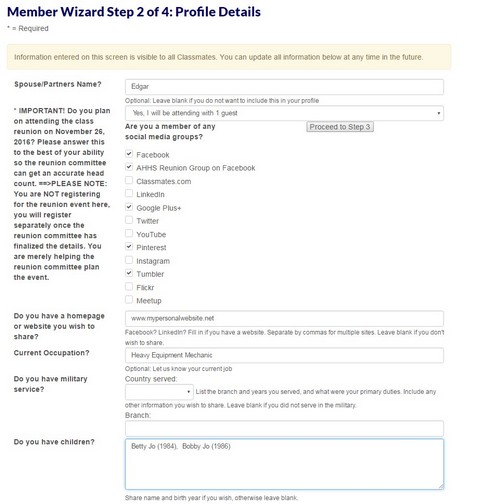
Again, these questions are optional. You can always go back and answer the rest of them at a later time by going to the MEMBER ICON and selecting EDIT PROFILE from the menu,
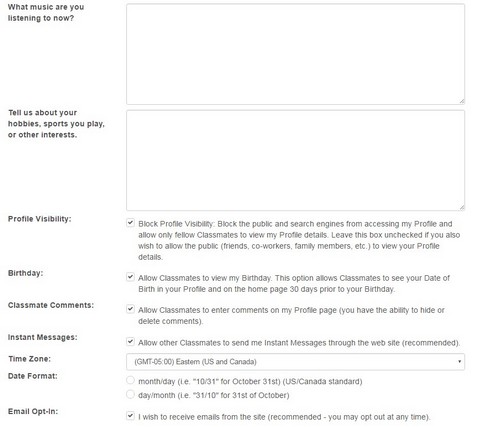
The bottom section gives you some options on how much of your information is visible to the public as well as other registered classmates. It also allows you to select whether you want to receive Instant Messages from other classmates, whether classmates can leave comments on your page, you can select your time zone, and select your preference of date format.
Once everything is set, go back up to the top section of the page and click the Proceed to Step 3 button. You will be taken to Step 3 of the Member Wizard. Here in the top section you can choose what information and you want to be notified of, and how often you want to be notified. You can get immediate notifications, a daily summary, or opt to never be notified of certain items at all.

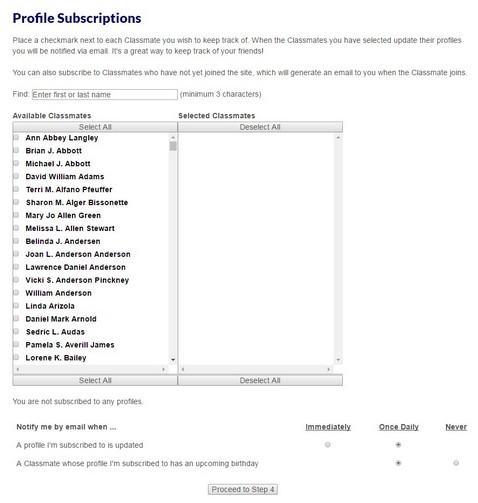
The bottom section will allow you to follow certain classmates of your choosing, and select how you want to be notified when they change their profile or have a birthday coming up. This is a great way to keep up with your friends! When your done with your selections, click the Proceed to Step 4 button.
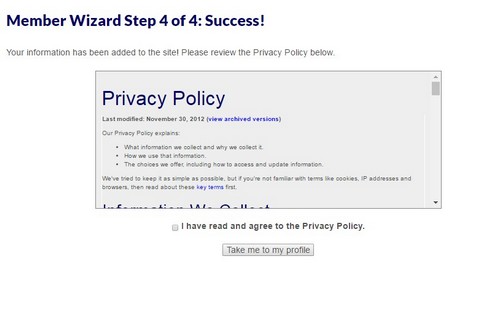
At step 4 of the Member Wizard, you read and agree to the Privacy Policy. Just check the box, and then click the Take me to my Profile button. You will be taken to your newly-created profile!
Once you get to your new profile, you can double-check the information, and edit it if needed by clicking the Edit Profile button next to your name at the top.
If you are set with your profile, you can start exploring the site, or you can add your profile pictures. To add photos, go up to the MEMBER ICON in the top right corner and click on Edit Profile.

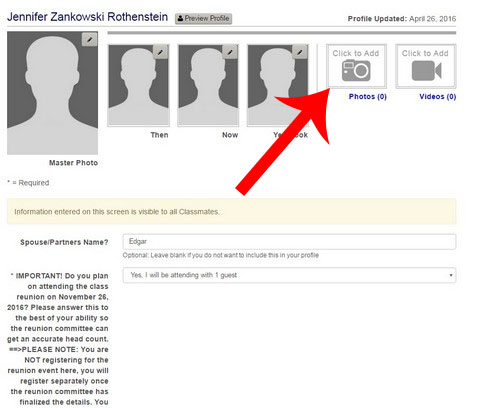
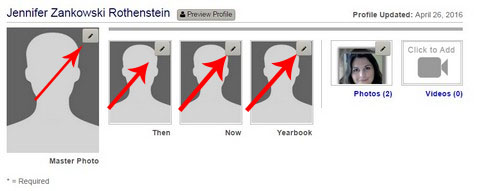
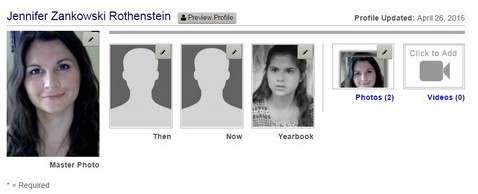
You will be taken back to your profile page where you will see some image placeholders. To add photos, click on the camera icon.
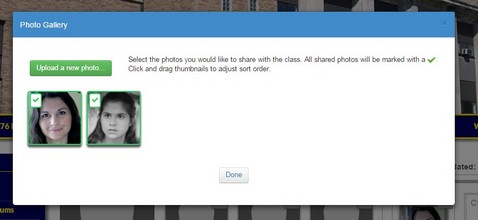
A window will popup, click the green Upload a new photo button.

A typical file popup window will open up where you will select the photo(s) you wish to upload. Click OPEN when you have the photo(s) selected and you will see a progress meter that shows the upload progress. Once the image(s) have uploaded, click DONE and you will be taken back to the profile page. You will see the photo(s) in the Photos thumbnail on the right and the number of photos in your folder. To add a photo to your profile, select where you want to add the photo (as a Master Photo, Yearbook Photo, Then, or Now.) Hover the cursor over the little pen icon in the corner of the image placeholder and when SELECT pops up, click it.
A popup will open showing the photos you have in your folder. Select the image you want to insert by making sure it is the only one checked. Click on the individual photo to check or uncheck it. Once you have the proper photo checked, click DONE.
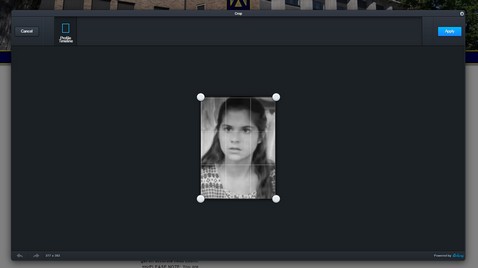
The photo editor window will pop up. Depending on the size of the image, the highlighted box will allow you to crop the image as needed. What is in the box will be what is shown in the photo on your profile. One you are satisfied with the photo, click the blue APPLY button.
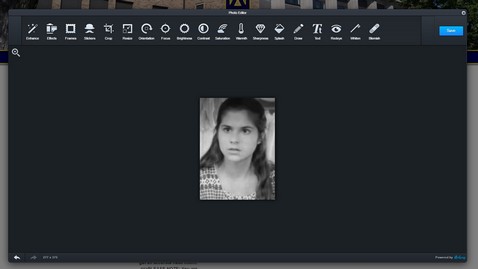
You will be taken to the 2nd photo editor window where you can made changes to the image such as adjust brightness, contrast, remove red-eye, and several other image adjustments. Once you are satisfied here, click the blue SAVE button.
Once saved, you will be back at your profile page and the image will be inserted. Note: Since we have all the 1976 Legenda photos already scanned and edited, we will automatically insert the yearbook photo for you provided you have one in the 1976 Legenda. If you don't want your yearbook photo inserted, just let us know through the Contact Us form.

You can follow the same steps to insert your Master (or Then or Now) photo(s). Just select the image placeholder where you want the photo placed and follow the steps above.
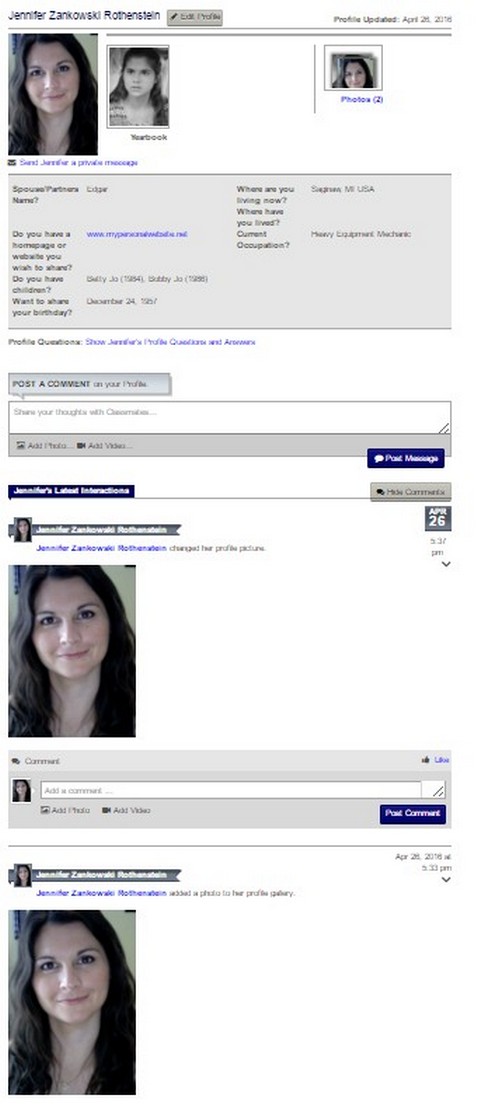
Once you add photos, you will see your profile updates lower on your profile page. This lets other members see what additions or alterations you have made to your profile. If you don't want them seen, you can choose which updates you want to delete by clicking the small down arrow on the right side just under the date/time.
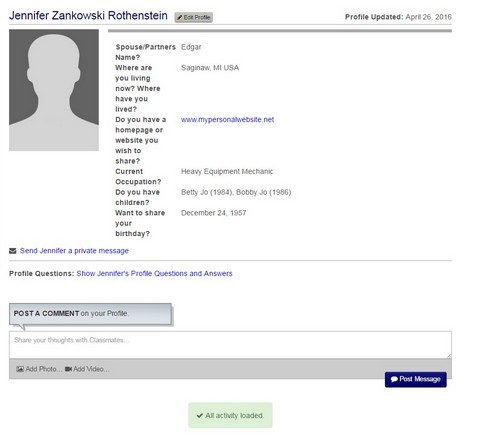
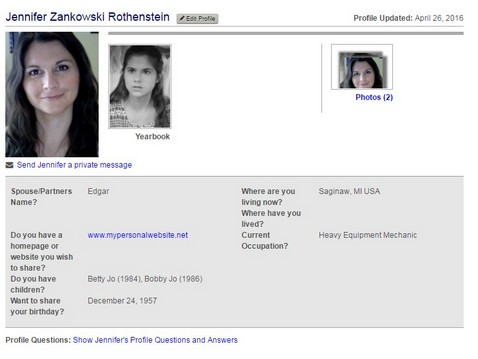
This is how members will see your profile. If you have privacy selections turn on, some of the information will not be visible as it is here.
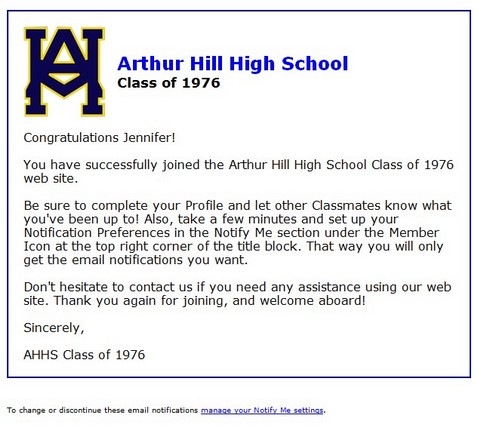
You will also get an email welcoming you to the site, and an email requesting that you verify your email address. Just click on the link to verify that your email is correct and you will be good to go!
We sincerely hope you enjoy this site, and take advantage of all it has to offer.
Class of 1976 Administrators